I’ve had some family photos I’d been meaning to frame set aside for ages, but I was looking for the right photo frames. I couldn’t find them, so I took some thrifted ones and made them better than they were before. It was an easy and fun craft afternoon.
You will need:
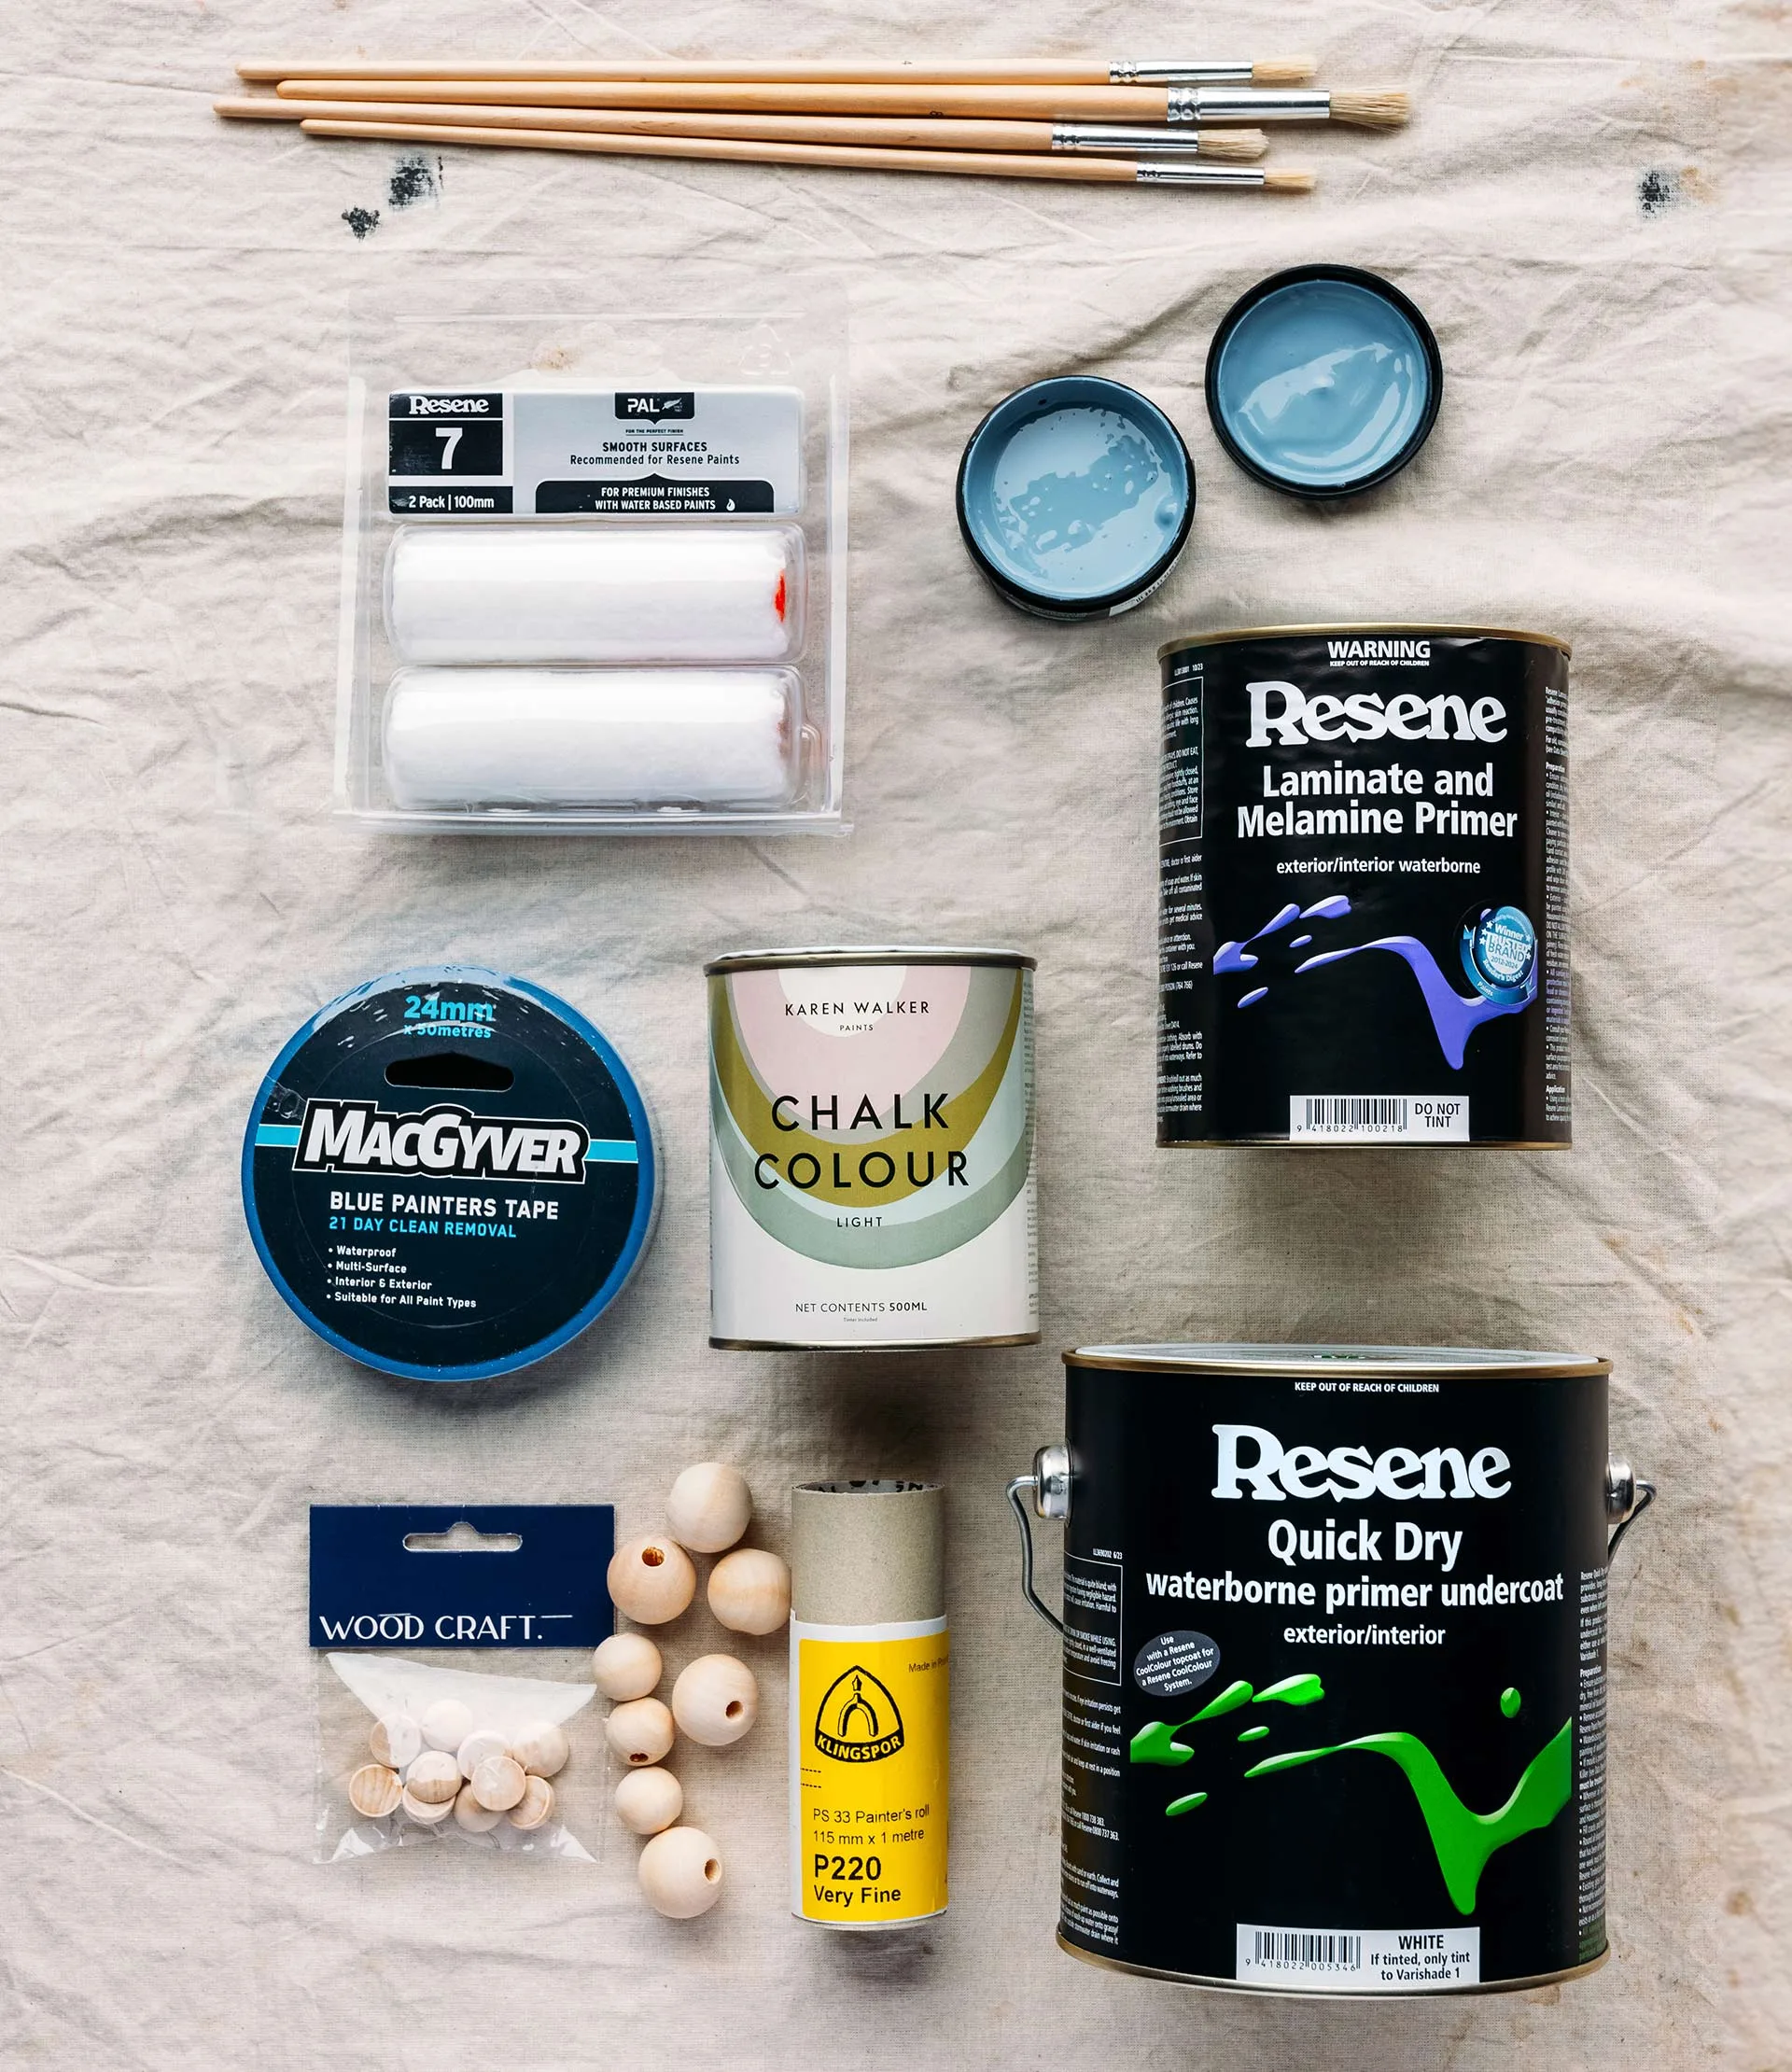
- Picture frames
- Wooden beads,
full and half - Glue. Either wood glue or hot glue
- Paintbrush
- Painter’s tape
- Resene Quick Dry waterborne primer undercoat for the wooden frames
- Resene Laminate and Melamine Primer for laminate frames
Your choice of paints, I used:
- Karen Walker Chalk Colour in Resene Blanched Pink
- Resene Kashmir Blue testpot
- Resene Hacienda testpot
- Resene Lustacryl semi-gloss waterborne enamel in Resene Guardsman Red and Resene Manuka Honey
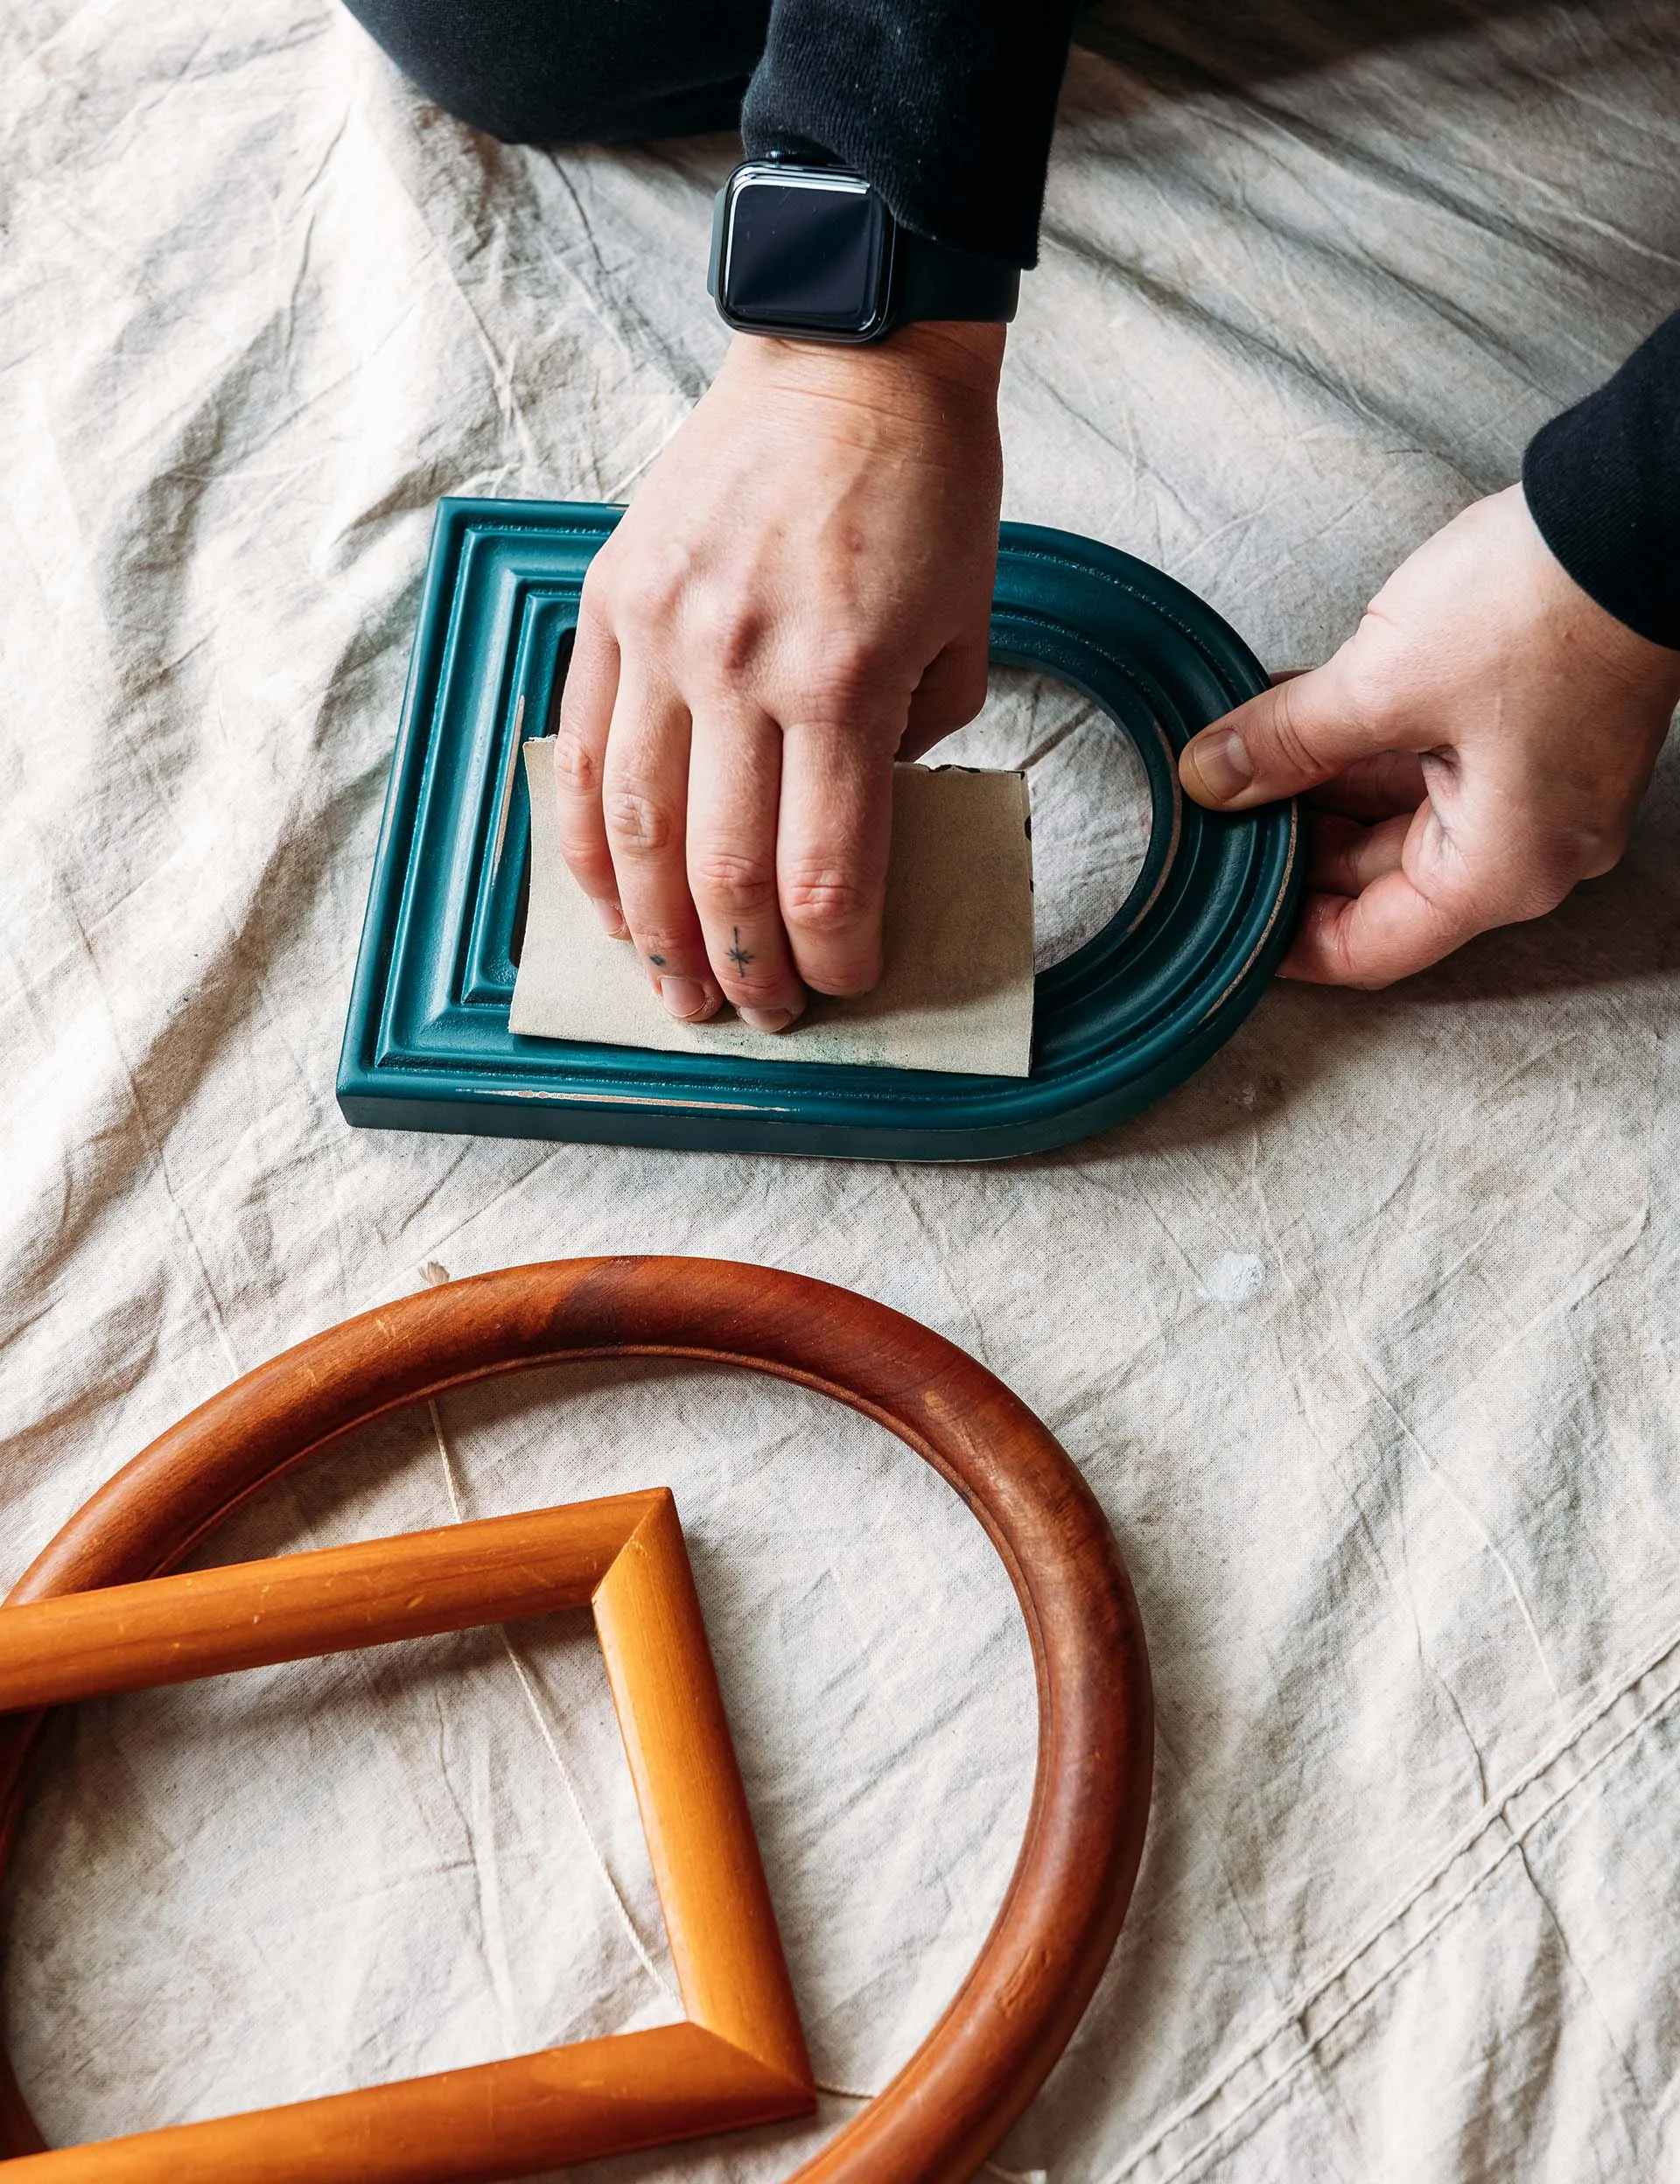
Step 1
Sand and clean all your photo frames.
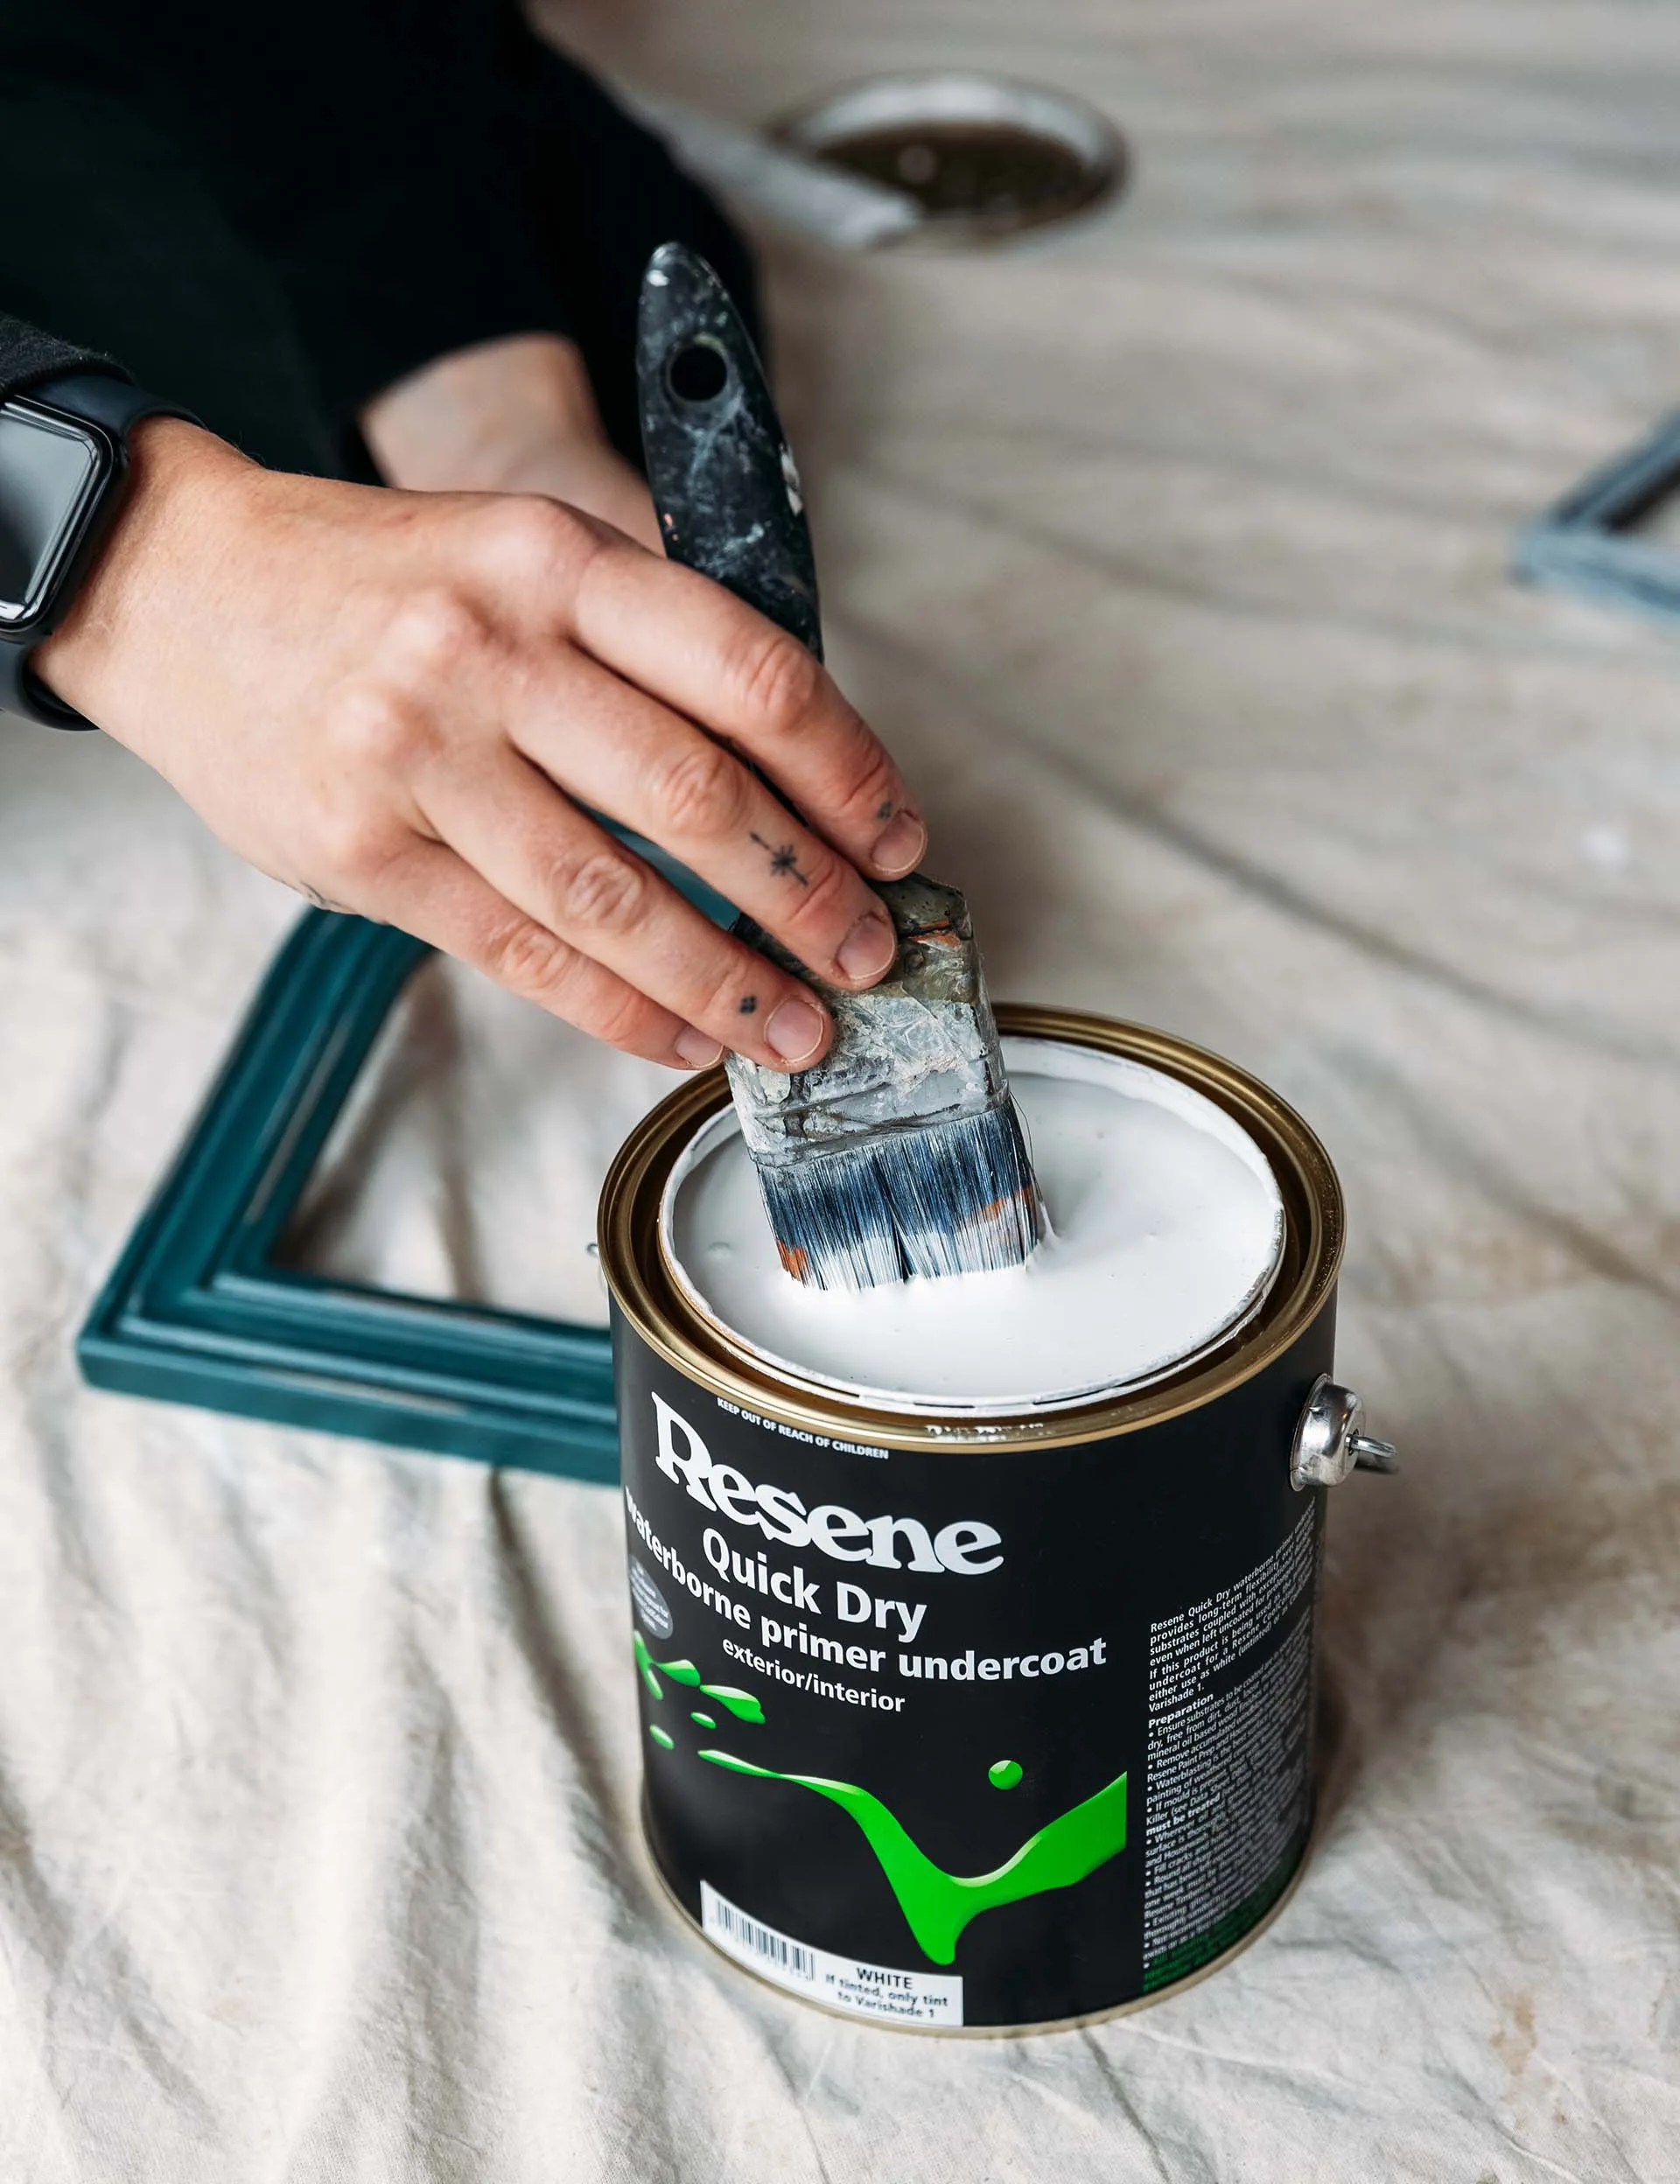
Step 2
Prime wooden frames with Resene Quick Dry waterborne primer. If your frames are laminate coated, then use Resene Laminate and Melamine Primer and allow them to dry.
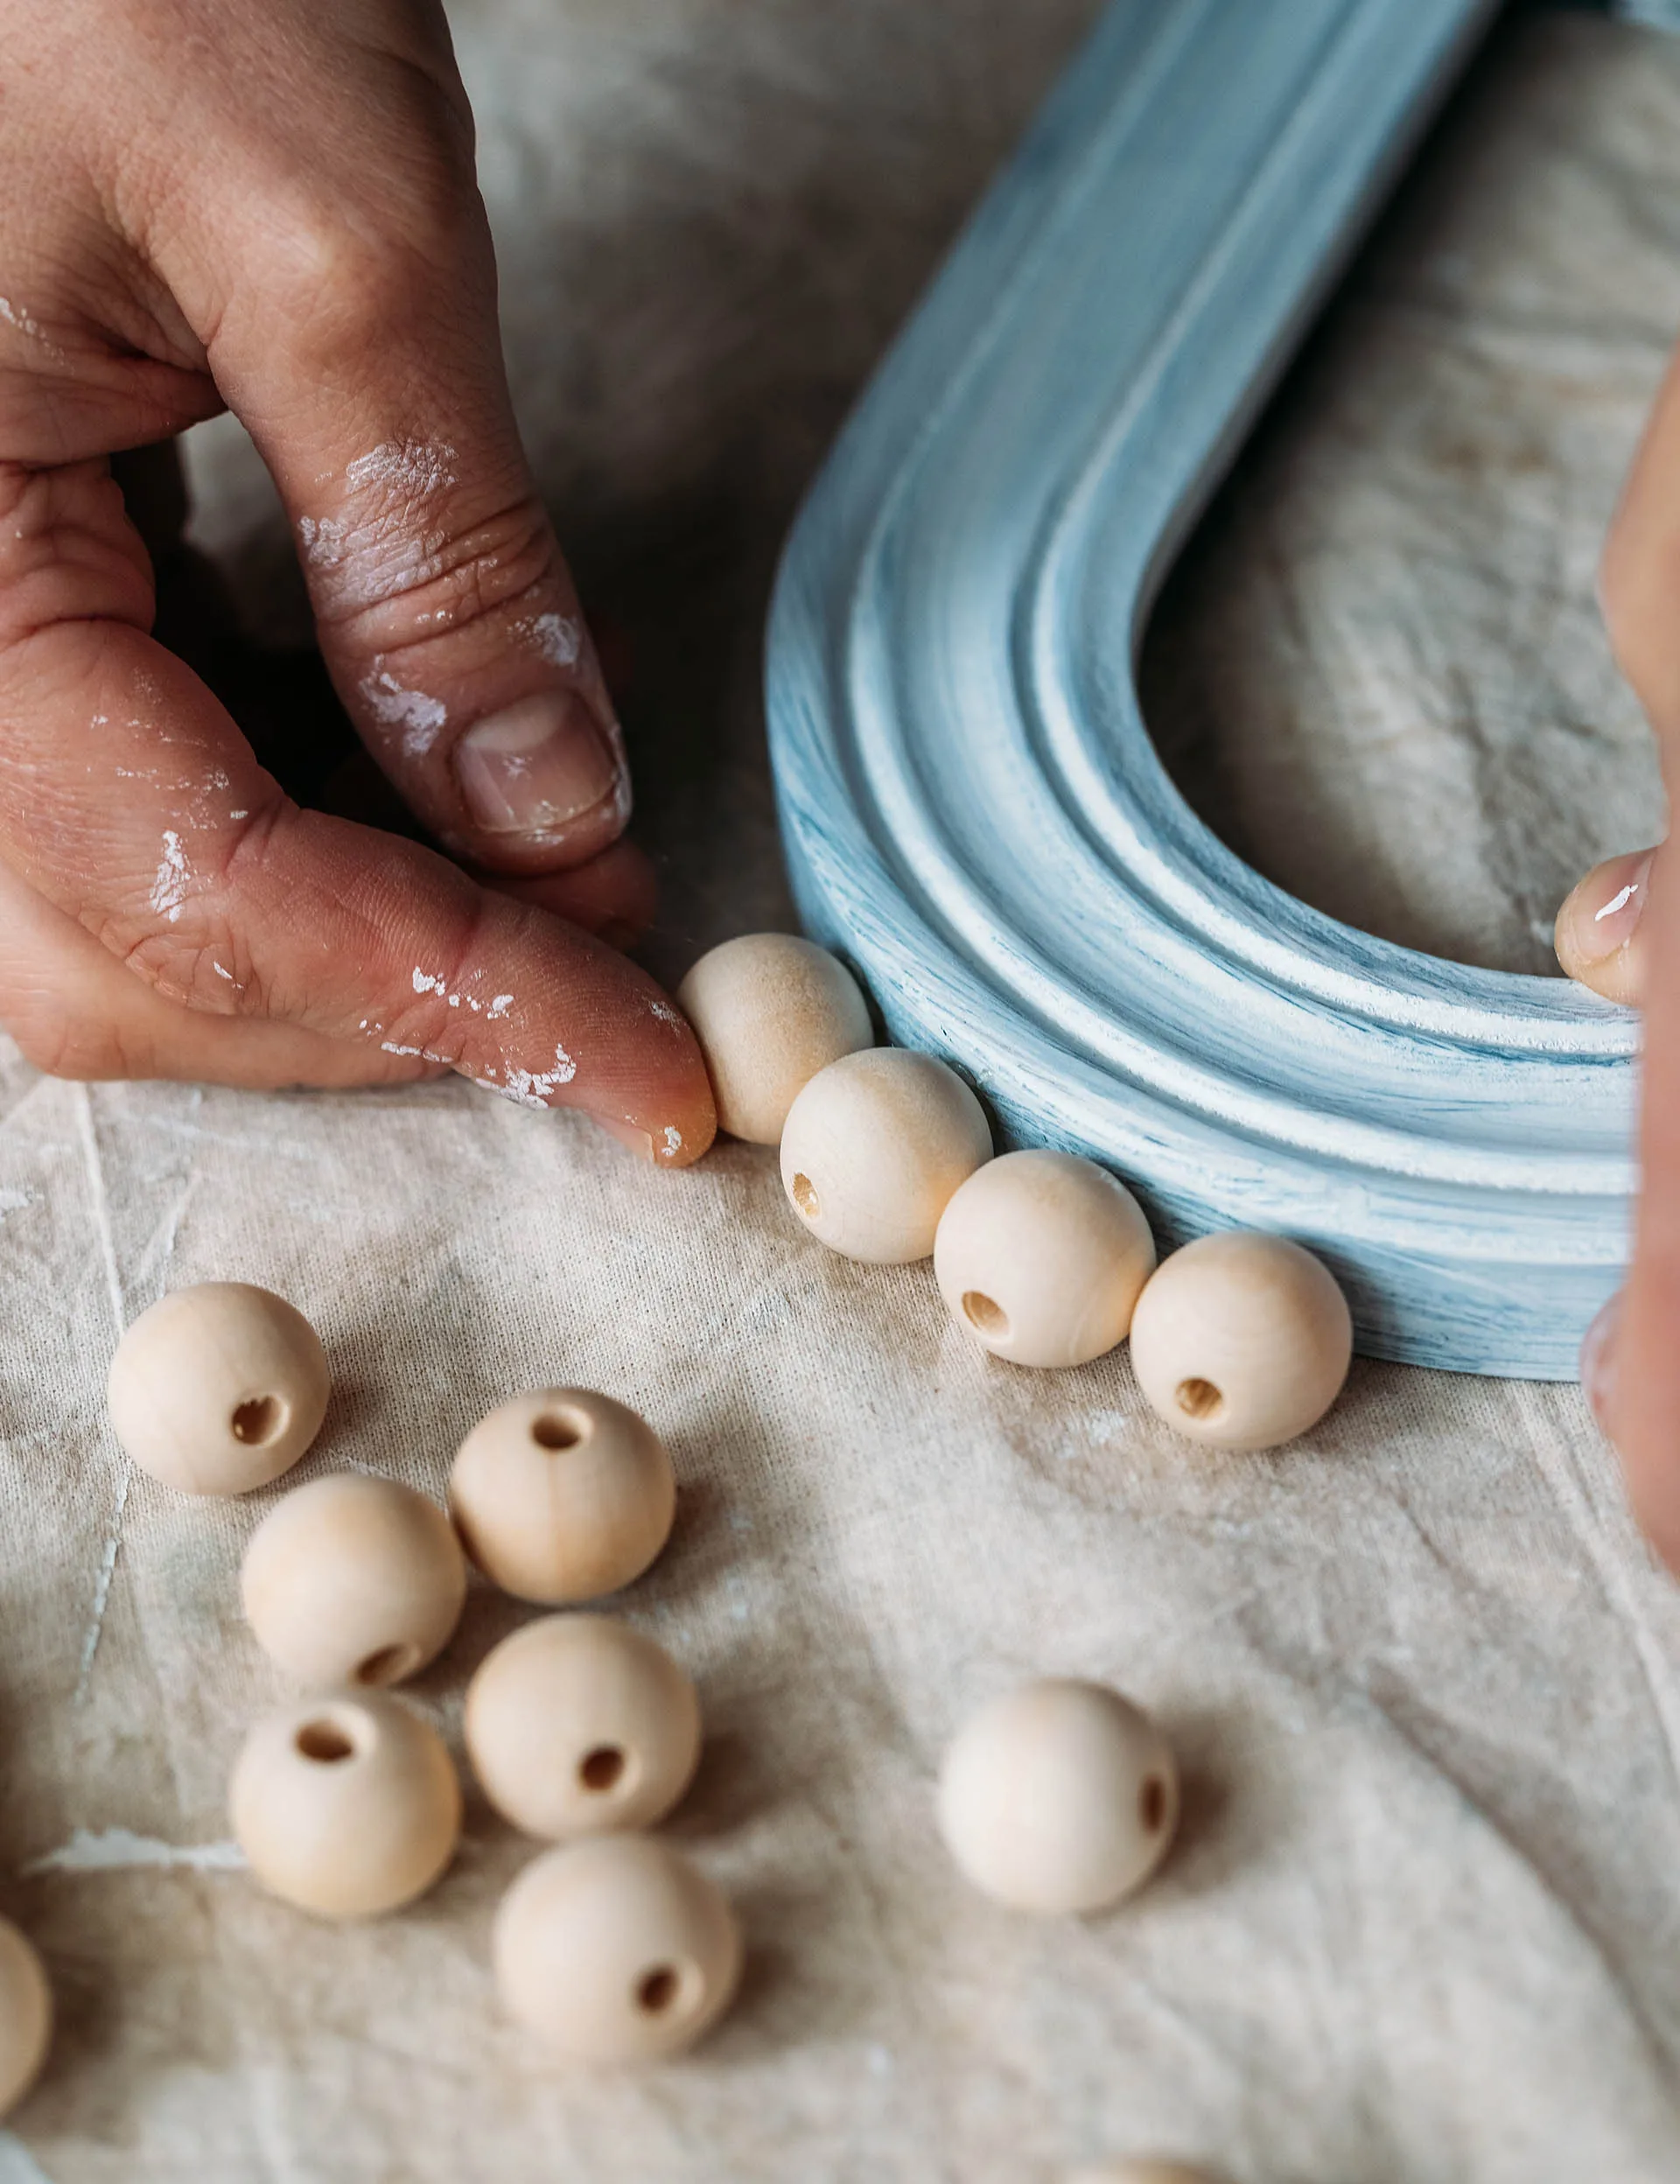
Step 3
Now it is time to add some fun details. I added full beads/balls to the edges of the curved frame using instant bond glue but you could also use a hot-glue gun. I positioned half the beads on the front of the square frame using PVA, I recommend using PVA wood glue for this, so you have more time to space them evenly.
Step 4
Prime any extra bits you have added to the frame.

Step 5
Allow everything to dry before decorating. I used a variety of Resene colours and finishes. They don’t need to match – just have fun and play around.
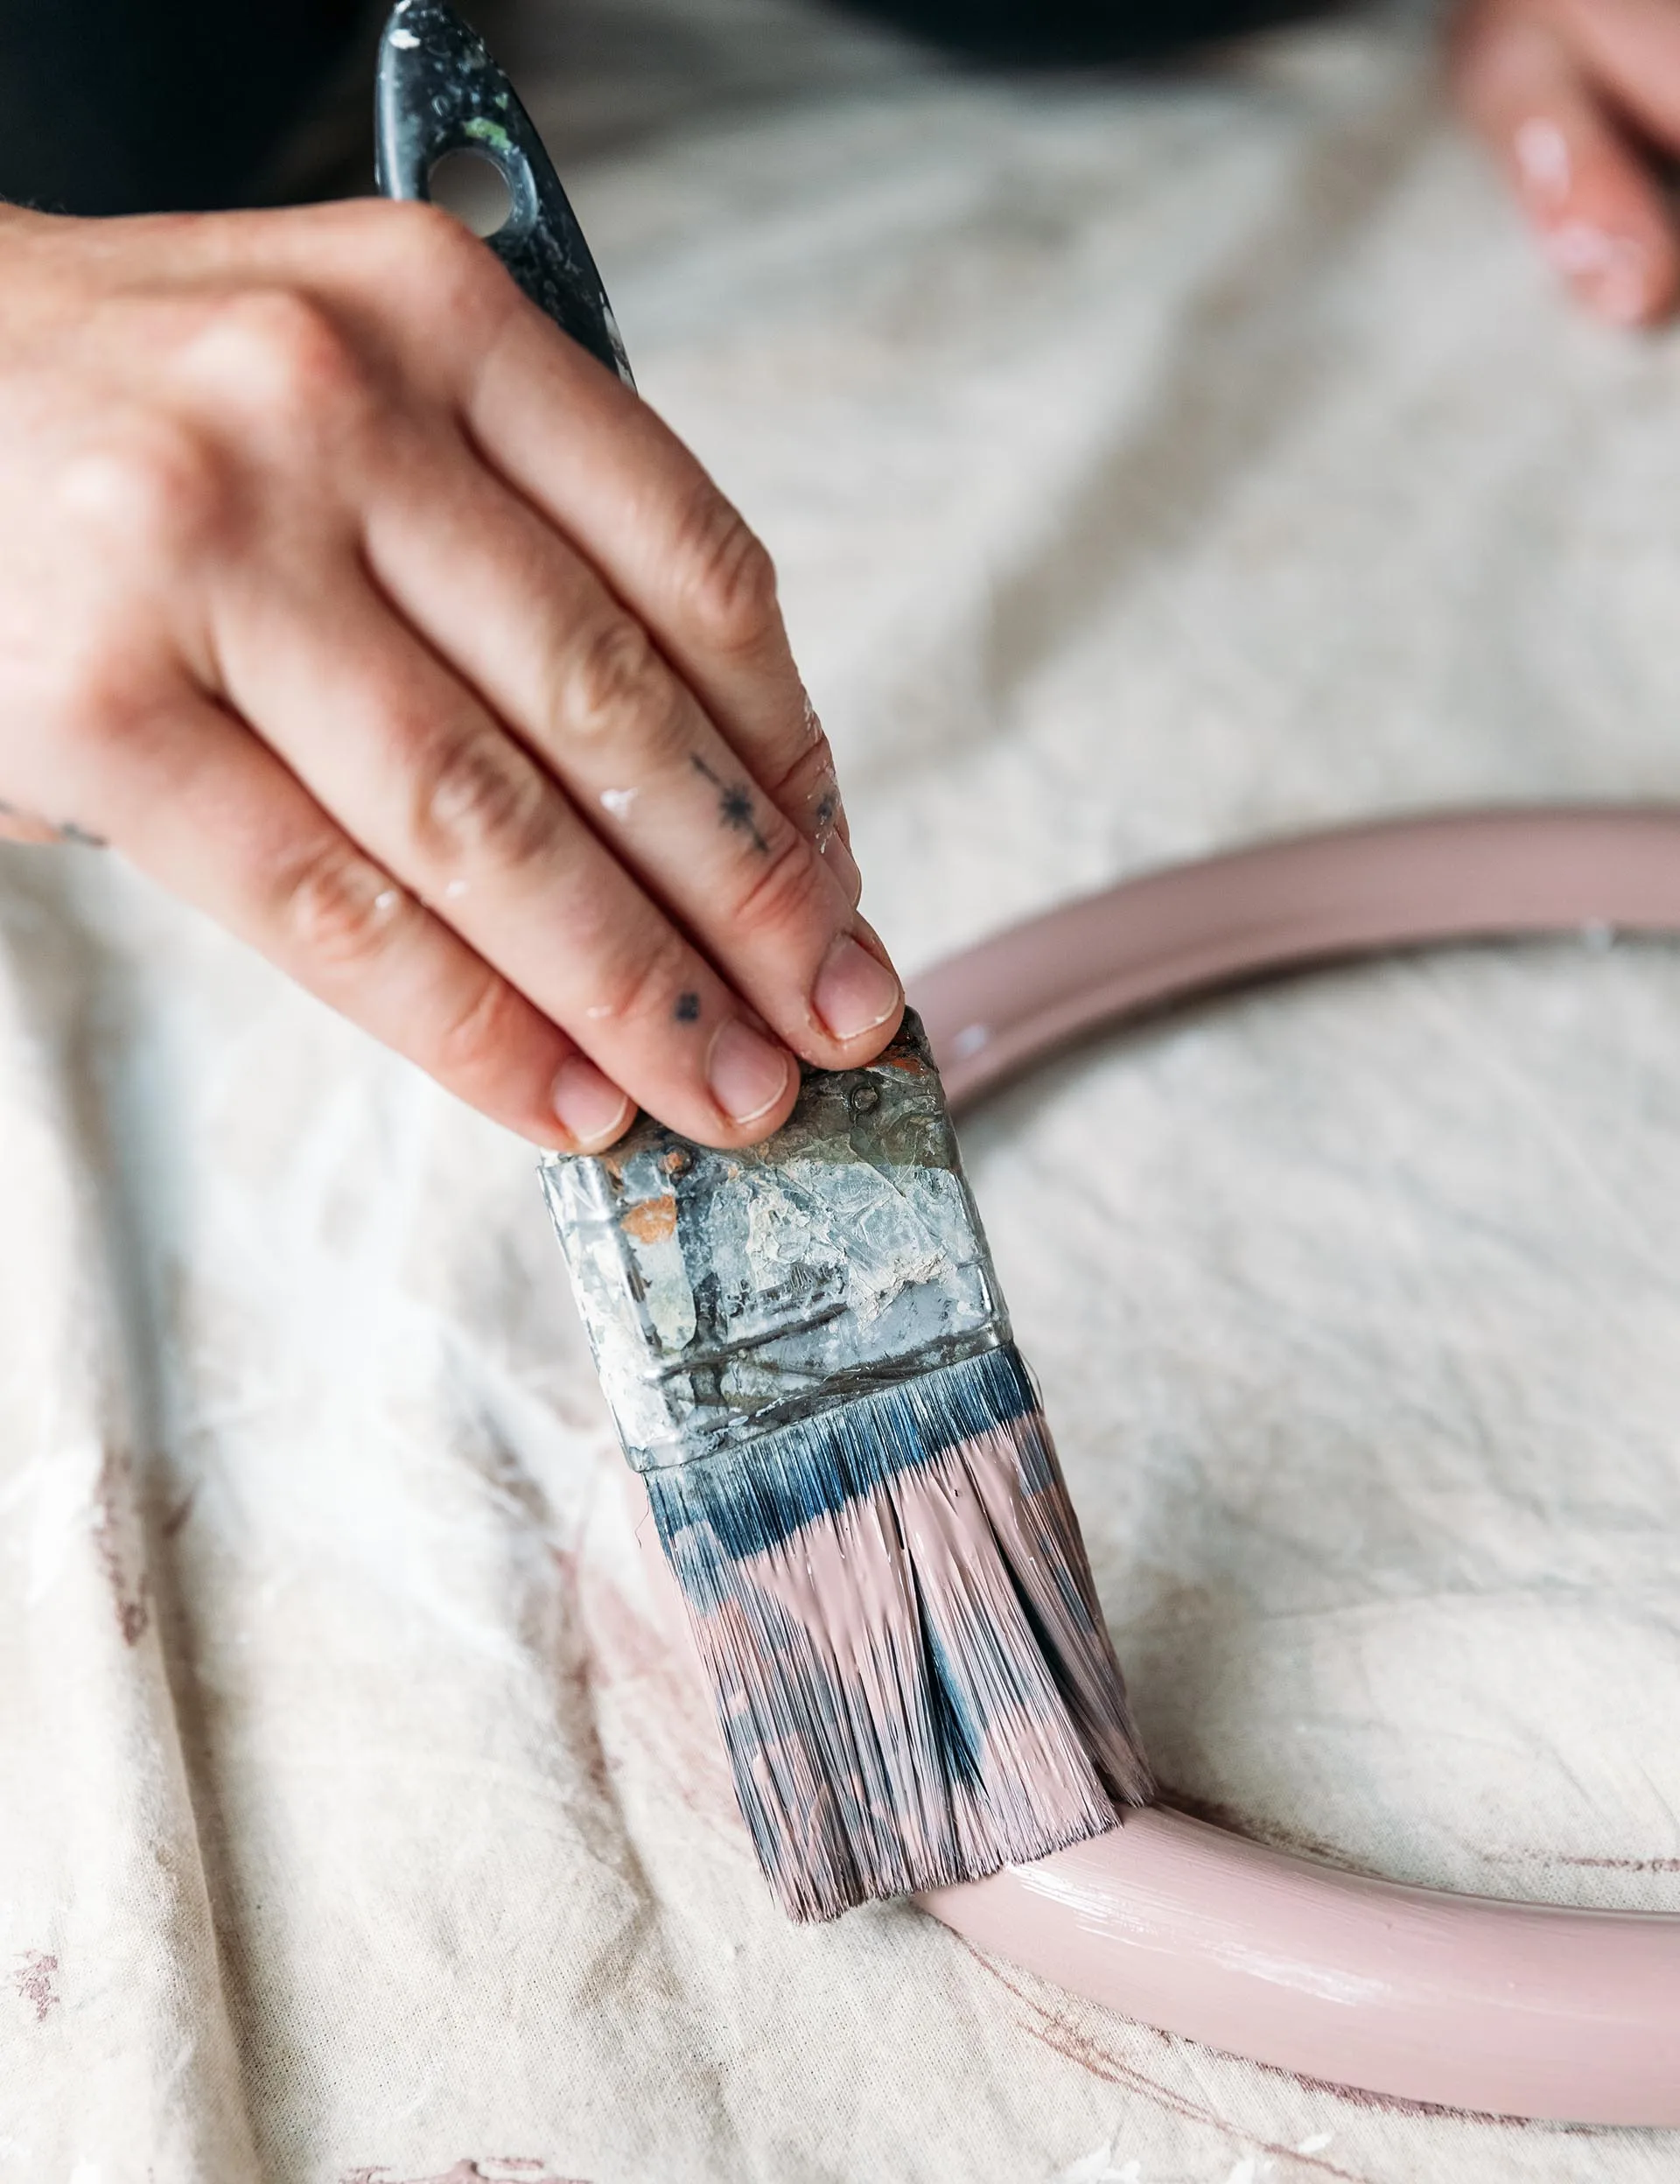
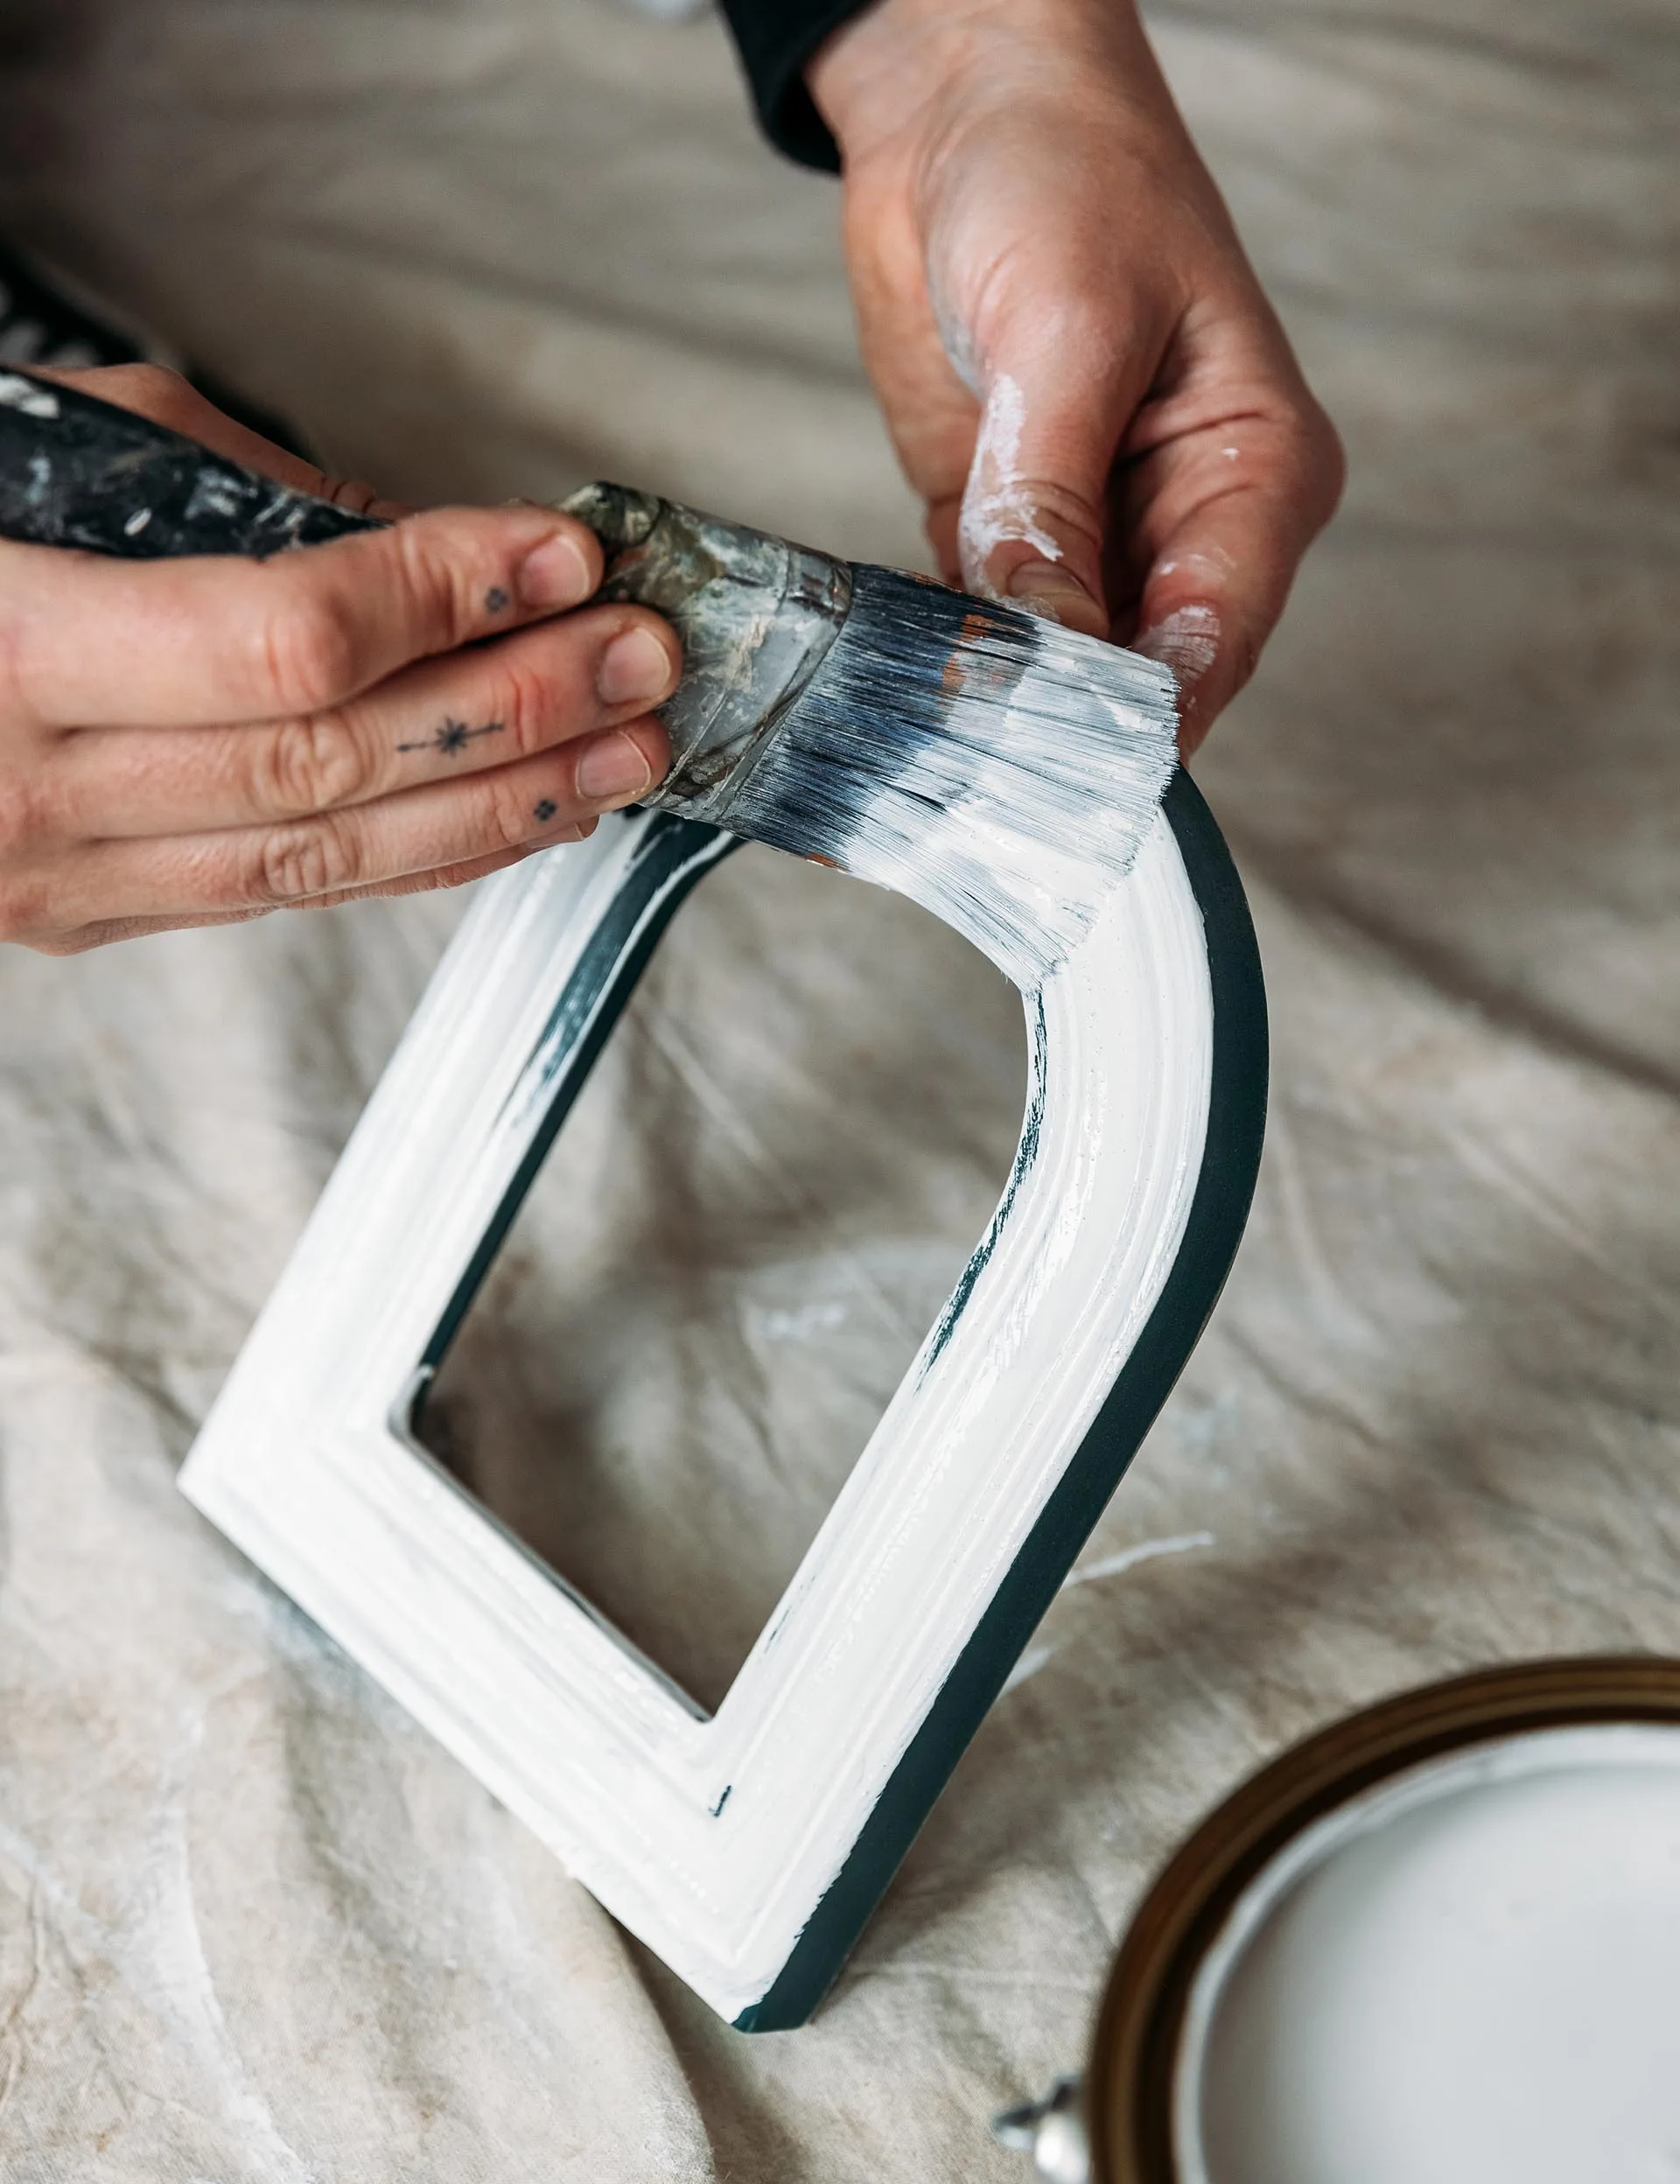
Step 6
For the blue ball frame, I applied two coats of Resene Kashmir Blue. For the oval frame, I used two coats of Karen Walker Chalk Colour in Resene Blanched Pink. For the arched frame, I used two coats of Resene Hacienda. Allow the paint to dry completely between each coat.

Step 7
To create the stripes, paint a lighter colour first. I used Resene Lustacryl semi-gloss in Resene Manuka Honey. Allow a good amount of time for it to dry. I used painter’s tape to create stripes, then painted Resene Lustacryl semi-gloss in Resene Guardsman Red onto the exposed parts of the frame. The frame will need two coats of paint, allowing time to dry between coats.
Top tips
- For glossy varnished frames, you can skip the sanding and just seal with Resene Waterborne Sureseal then topcoat.
- Put down a Resene drop sheet with a leak-proof backing to catch any paint drips.

The post DIY: How to upcycle old photo frames appeared first on Your Home and Garden NZ.