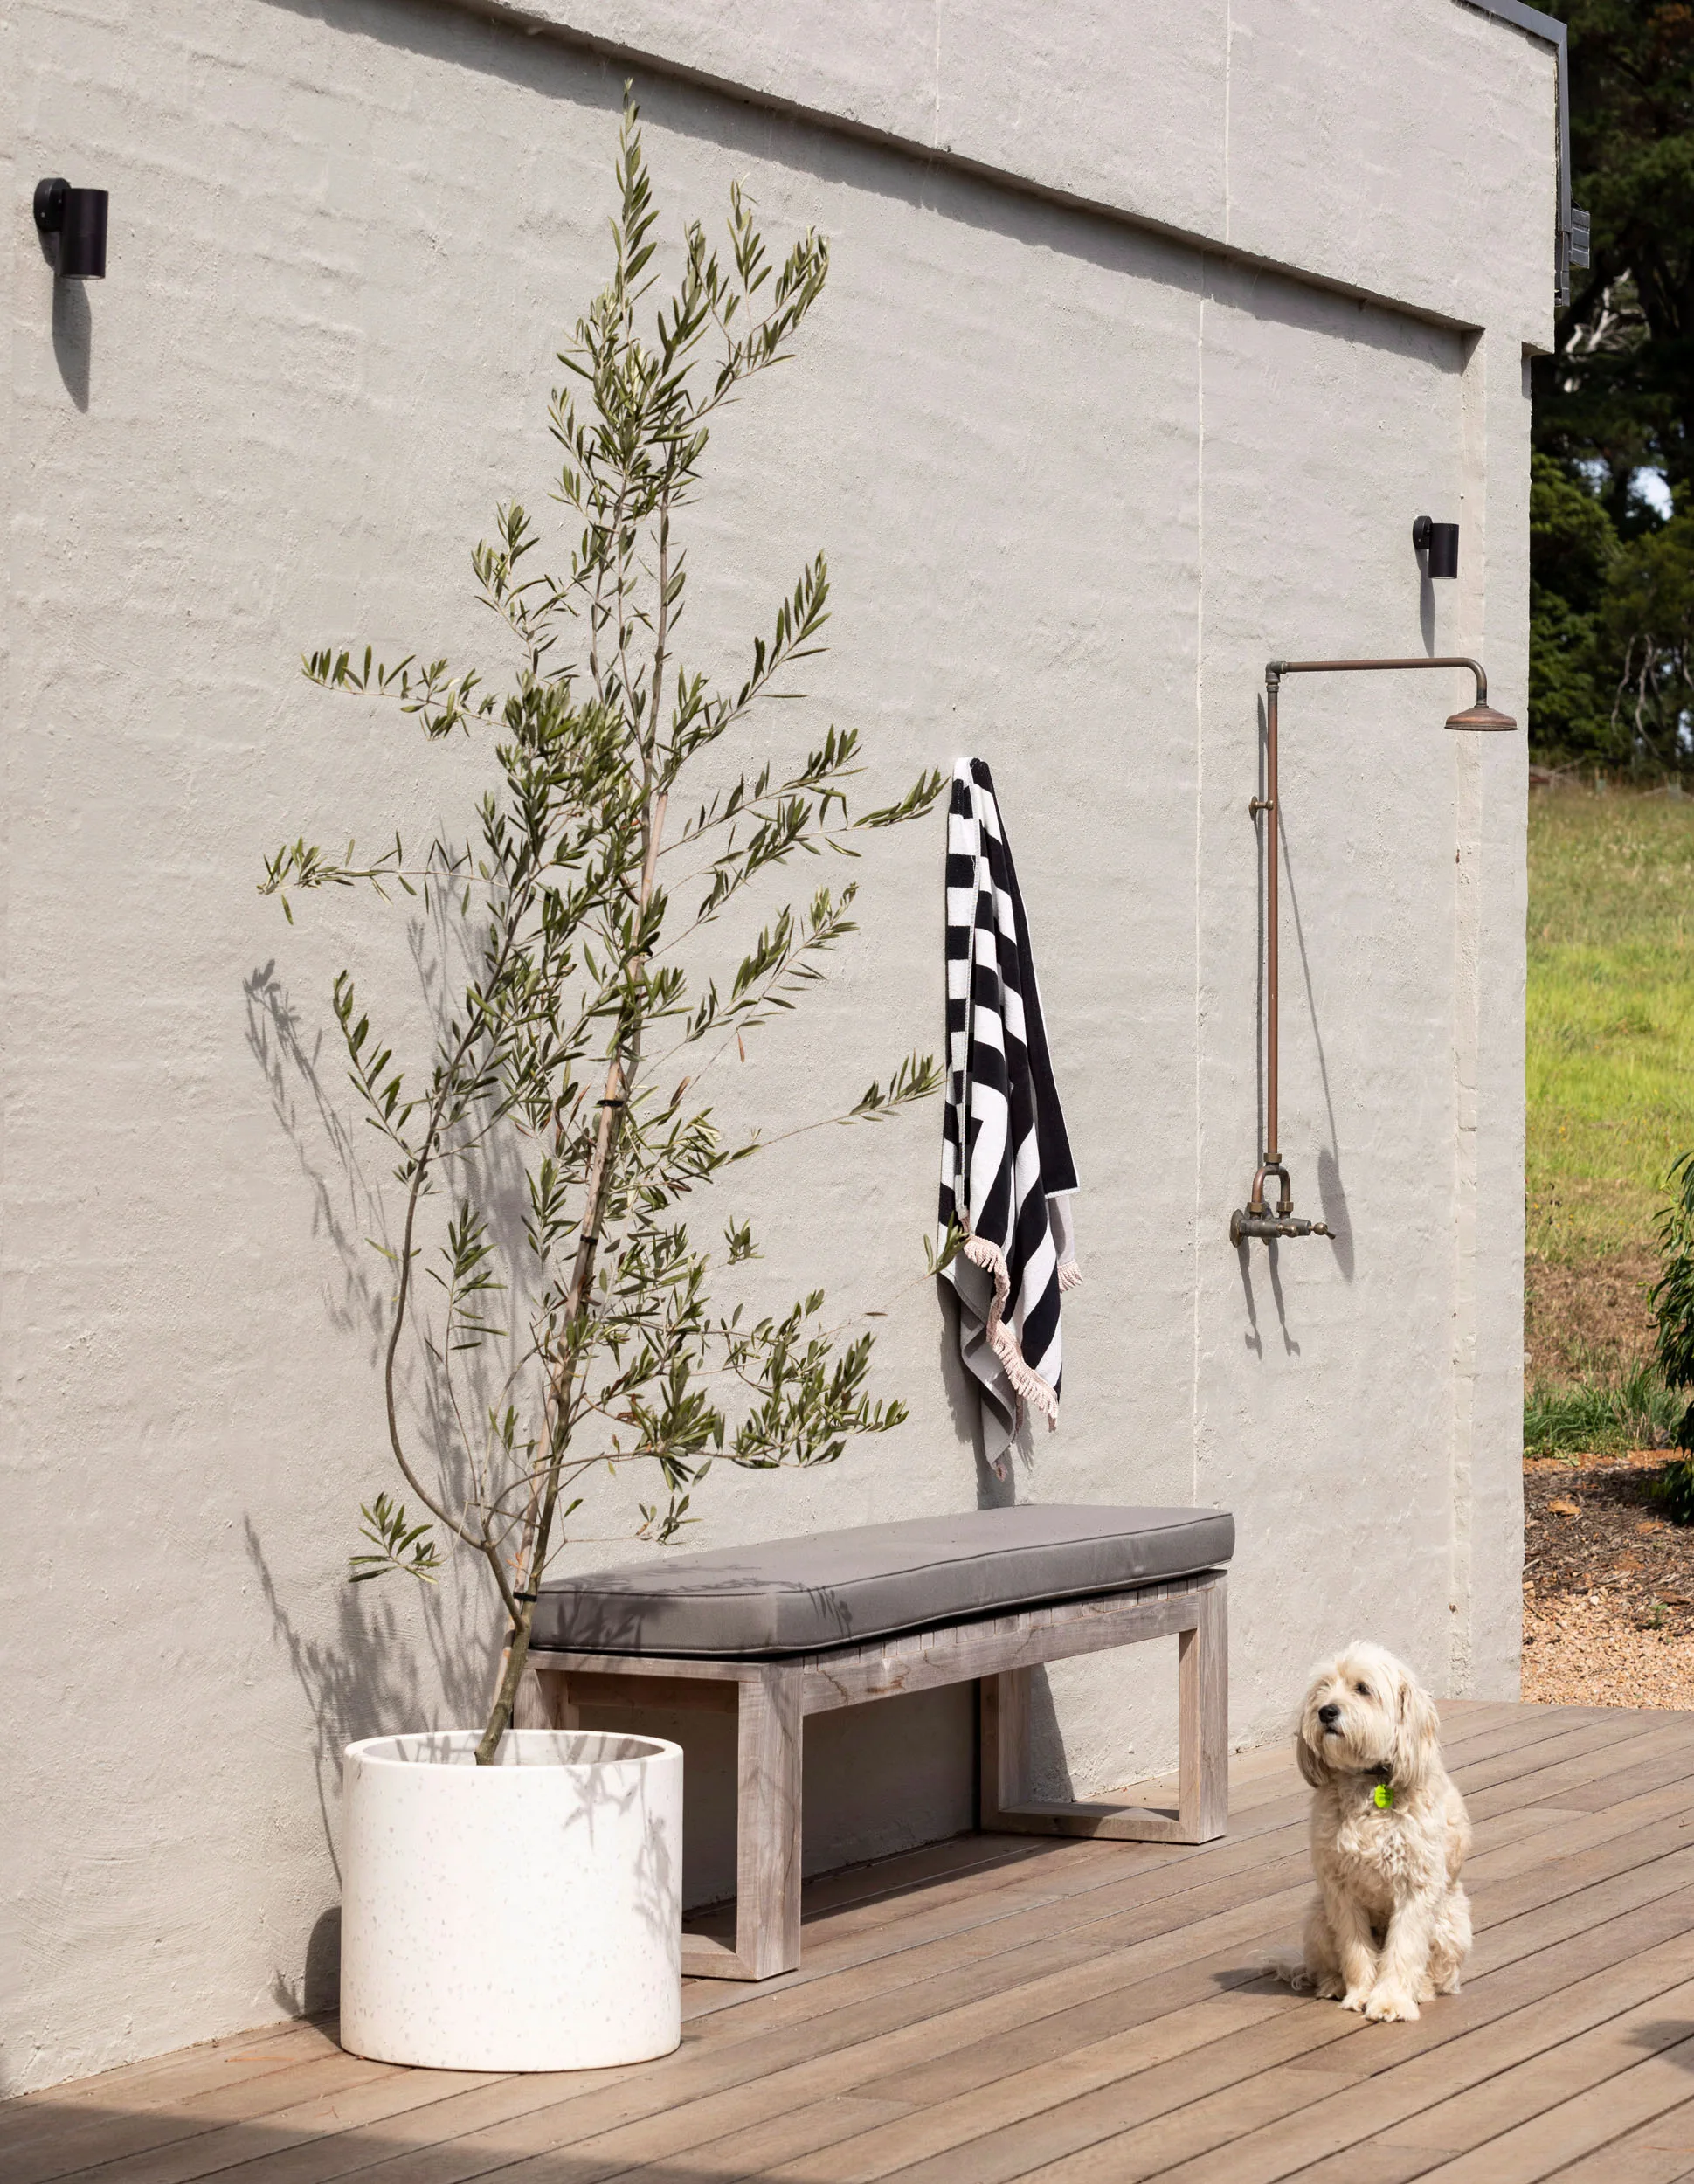
Installing an outdoor shower or bath is becoming more and more popular in Kiwi backyards, whether it’s a simple cold-water shower for rinsing off after a swim or a luxurious resort-style bathing zone.
“Outdoor showers, baths and hot tubs can add another dimension to outdoor activities, creating better year-round use and enjoyment of the outdoors,” says Mark Read, lead landscape designer at Natural Habitats.
“The bath or shower is an element of a larger design goal: to connect to the outdoors, add romance, relaxation, and enhance wellbeing.”
Although it may seem simple to pop an extra tap and a shower head on the side of your house, adding outdoor bathing into your garden requires a fair amount of planning.
Read our guide to positioning, plumbing and draining your outdoor shower, but consult your plumber or landscape designer for advice on your specific house and garden setup.
Remember: Check with your local council depending on the type of bathing structure you are planning, you may need resource consent building consent, or both. It never hurts to ask!

Step 1: Plumbing
Suppose you’re planning anything more complicated than a hosepipe. In that case, it’s a good idea to consult a plumber or garden designer for advice about the best way to plumb your bath or shower, depending on your budget.
Here are a few options to consider while deciding what might suit you best:
$ Hosepipe out the window: If your bathtub or shower is situated close to your house, a simple length of hosepipe attached to a bath or kitchen mixer will deliver a hot open-air bath in no time. But you’ll still need to think carefully about drainage for when you pull the plug.
$ Garden hose: While it will only allow a cold bathing experience, hooking your outdoor shower or bath up to the hose is an easy and cost-effective option that will also give you more flexibility regarding location.
$ $ Hot and cold taps: You can tap into your home’s hot water supply for outdoor bathing. A plumber will be able to advise you on the best location for a new set of outdoor taps which can then be connected directly to your outdoor shower or bath.
$ $ $ Fixed plumbing: Hooking up to the permanent water lines in your home is the most costly option as it will involve new pipes and landscaping to hide them if you wish to bathe a good distance from your house. But the result will be a seamless bathing experience of the utmost luxury.

Step 2: Drainage
Outdoor showers and baths often don’t need complex drainage systems, especially if you’ll only be bathing outdoors occasionally. But frequently draining a bath or shower into your garden can cause problems, so it’s best to get professional advice.
These are your most common options:
Direct garden drainage: The easiest and most eco-friendly way to drain a bath or shower is to let the wastewater seep directly into your garden. If you want to avoid harming plants and critters, don’t use strong bath products, shampoos, or soaps.
Stones and pebbles: Using stone flags and pebbles as the base for a casual freshwater shower will allow water to naturally drain away into the ground while providing an elegant surface.

Collection tray: If a shower or bath is installed over decking, a collection tray can be placed underneath to drain the water away into your home’s wastewater system.
Soak pit: This structure is designed to aid drainage and is suitable for some situations. Talk to a specialist if you have a boggy garden, or if you want to bathe close to your house and there’s no slope to drain the water away from its foundations.
Plumbed-in: If your shower or bath is likely to be used frequently, connect it to the house wastewater system to avoid your garden becoming too damp or unstable.

Step 3: Location
There are a few different ways to approach choosing the location for your bath or shower:
Existing garden: Since outdoor bathing is all about connecting with nature, a great starting point can be to look at your existing garden and plants and find a lush, leafy spot that provides good privacy.
Plumbing: Starting with the location of an existing bathroom or hose plumbing can help you situate your bathing spot for maximum convenience (and lower cost).
Surface: An effective outdoor bathing situation will be firm and flat and could include a deck, patio, path, driveway or lawn.
Function: If your outdoor shower is for rinsing off after a surf, you may wish to position it just inside the garden gate. But if you’re more interested in creating a relaxing outdoor bathing area, taking advantage of the best view might be your priority. Think about how you want to use your outdoor shower or bath and make sure it’s going to work for your lifestyle.
Shelter: Consider carefully the situation of your bath or shower with regards to its exposure to wind and sun.

Step 4: Bath or shower base
The surface underneath your bath or shower should be water-resistant, stable and permeable. If installing a bath, remember baths and hot tubs can be heavy so the substructure must be designed to accommodate this. Your main options are:
Decking or duckboards: are useful for sloping areas to create a flat surface. A wooden pallet set on grass or pebbles is an affordable hack.
Pebbles: are great for drainage but can be a little hard on the feet so add a draining plate to stand on.
Flagstones: set in a pebble surround look great, feel comfortable and provide good drainage.
Tiled slabs: work best for slick architectural designs.
Punched steel: can be an effective shower floor if an industrial look is preferred.
Remember: Check with your local council depending on the type of bathing structure you are planning, you may need resource consent building consent, or both. It never hurts to ask!
Photography by: John Paul Urizar, Steve Ryan/bauersyndication.com.au
Related Articles:
- Pool or beachside, these are the best sun loungers to relax on
- Global spa styles to channel into your bathroom design
- The expert guide to creating bathroom storage
The post Everything to know before installing an outdoor shower or bath appeared first on Your Home and Garden NZ.